
If you can’t attend to your dental hygiene after every meal, dentists recommend brushing your teeth at least twice a day. But while you may be aware of your mouth’s cleanliness, you might not be paying enough attention to your toothbrush’s hygiene.
Even if you dutifully run your toothbrush under hot water before brushing, germs might still find a way to cause problems. Much in the same way you clean your bed sheets, you should be cleaning your toothbrush head on a regular basis, too. Here, we’ve rounded up a few simple and effective tips for deep cleaning your toothbrush.
Effectively Deep Clean Your Toothbrush with Hydrogen Peroxide
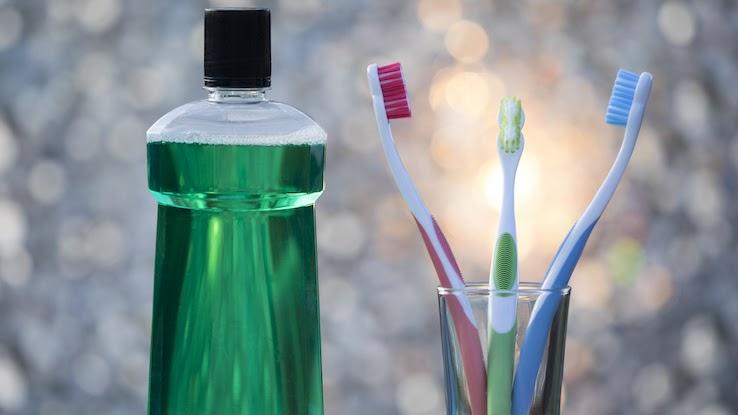
Looking to deep clean your toothbrush? Hydrogen peroxide is a great disinfectant. In fact, researchers found that soaking the head of a toothbrush in 3% hydrogen peroxide was found to kill 100% of germs. Antiseptic mouthwash, which generally contains hydrogen peroxide, is also a great disinfectant. Not to mention, common mouthwash ingredients — alcohol, menthol, eucalyptol — can also effectively kill bacteria.
So, what’s the process like? First, rinse the bristles of your toothbrush in water to get rid of any food particles. Next, pour enough mouthwash or hydrogen peroxide into a small cup so that the solution will cover the toothbrush, and leave your handy hygiene tool to soak for about 15 minutes — if you leave it longer, the bristles might end up damaged, and that’s also not great for your oral health.
Disinfect Your Toothbrush with Vinegar and Baking Soda
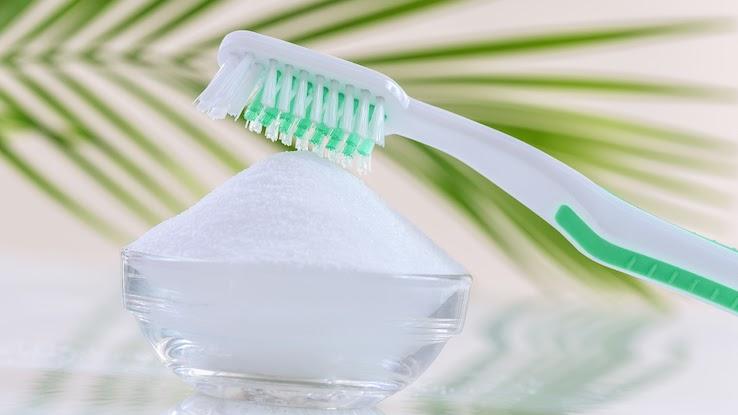
Of course, you can also deep clean your toothbrush with some commonplace kitchen products. Baking soda, for example, is a natural disinfectant. Just mix two teaspoons of baking soda into a cup of water, and, after the baking soda has dissolved, soak your toothbrush in the solution for 15 minutes. Afterward, rinse your toothbrush in water and let it air dry.
But baking soda isn’t the only helpful kitchen product at your disposal; soaking your toothbrush in vinegar overnight once a week is also a great way to kill germs. To avoid staining your brush’s bristles, use white vinegar. Can’t decide between vinegar and baking soda? Add two tablespoons of vinegar and a scoop of baking soda to a 1/2 cup of water and let your toothbrush soak for 30 minutes.
Kill Pesky Germs on Your Toothbrush with a UV Sanitizing Light

Ultraviolet (UV) sanitizing lights might bring you back to high school chemistry class, but they’re also an increasingly popular way to clean everyday items, like phones and, well, toothbrushes. Unlike some of these other cleaning methods, UV sanitizing lights can be a pricier investment depending upon the size you want. For a toothbrush, you can go pretty small, so you likely won’t spend too much more than $10. No matter the size, make sure your brush head’s bristles are facing the bulb and they’ll get a nice cleaning.
Although UV light has been found to be less effective means of killing germs on your toothbrush than hydrogen peroxide or mouthwash, it can still get the job done. And this method is certainly better than just running your toothbrush under some water. As noted by the American Dental Association (ADA), you should only buy a UV sanitizing light that has been approved by the U.S. Food & Drug Administration (FDA) if you’re planning to use it as a toothbrush cleaner.
Turn to Denture Cleaners for an Effective Toothbrush Deep Clean
Perhaps unsurprisingly, denture cleaning tablets are another great way to beautify your toothbrush. As the name implies, they’re most commonly used to keep dentures squeaky clean, but these tablets and their foaming action — a mix of sodium bicarbonate and citric acid — can also loosen food particles that have been trapped in the brush.
Typically, you’ll just add these germ-killing tablets to a cup of warm water. Once the tablet dissolves, soak your toothbrush for up to 10 minutes for the best results. After your toothbrush gets a nice soak, rinse it off under some water and let it air dry.
How to Avoid Toothbrush Germs in the First Place
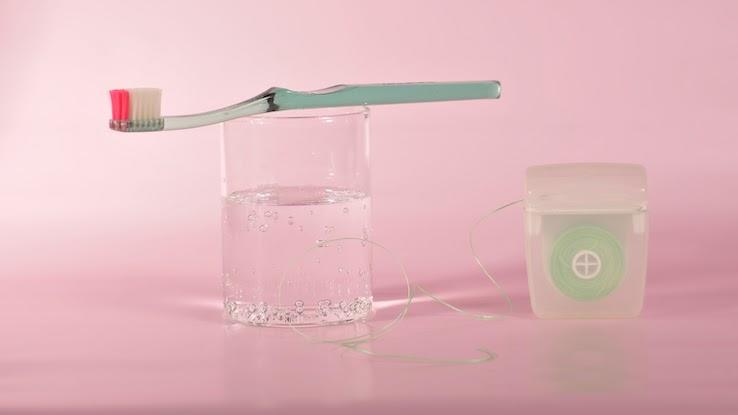
Preventative care can also do wonders when it comes to maintaining a clean toothbrush. After using your toothbrush, rinse it under warm water to remove any excess toothbrush or food debris; after the rinse, store your toothbrush in an upright position so that it can air dry properly. As you might expect, leaving your toothbrush in a closed container for a long period of time will cultivate more bacteria. If you use toothbrush covers, be sure to clean them regularly with soap and water — and, on that note, do the same with your toothbrush holder.
Other Toothbrush Care Tips:
- Although it may seem obvious, avoid sharing your toothbrush with other people — unless you like spreading bacteria.
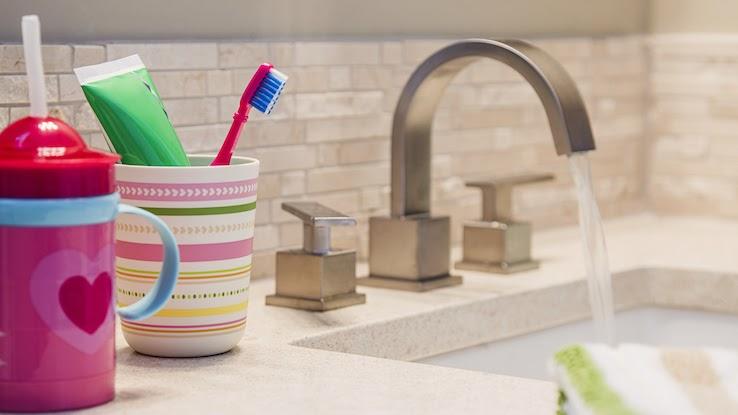
- Avoid storing multiple toothbrushes in the same holder or drawer; bristle-to-bristle contact is another surefire way to spread germs.
- Get a new toothbrush every three months.
- If the toothbrush’s bristles are worn or bent, replace your toothbrush before the three months are up.
- If you’ve been sick, replace your toothbrush once you feel better to avoid any lingering bacteria that could lead to a reinfection.
- Do NOT put your toothbrush in the dishwasher, microwave or a pot of boiling water. These methods can be ineffective, but, moreover, they can deal serious damage to your brush, especially the bristles.
- Keep your toilet lid closed to avoid spreading airborne bacteria. Flush with the lid shut and store your toothbrush as far away from the toilet as possible.
Resource Links:
- “Efficacy of Various Disinfectants on Microbially Contaminated Toothbrushes Due to Brushing” via Contemporary Clinical Dentistry, U.S. National Library of Medicine | NCBI
- “A Clean Toothbrush May Help Protect You From The Flu” via Maryland Children’s Oral Health Institute
- “5 Tips to Clean Your Toothbrush and Keep It Germ-free” via Insider
- “Evaluating Sanitization of Toothbrushes Using Ultraviolet Rays…” via U.S. National Library of Medicine | NCBI
- “Toothbrushes” via American Dental Association (ADA)
- “How to Disinfect a Toothbrush: Tips on How to Keep Them Clean” via Eric Kitts DDS, Soundview Family Dental
- “4 Tips for a Clean Toothbrush” via Cleveland Clinic
- “Project Clean Toothbrush: Important Tips to Help Prevent the Spread of Germs” via The Children’s Oral Health Institute