You may have heard about the benefits of planking, but have you tried it yet? Planks are a great full-body workout you can do without a gym membership or any equipment. Plus, they’re an excellent beginner-friendly workout. Read on for step-by-step instructions, modifications and common mistakes.
Plank Benefits
You can enjoy a stronger core, better balance, improved posture and better coordination — all with this one exercise. Here are 2 key health benefits of planking:
- Stronger core: The plank exercise has been proven to improve abdominal and lumbar muscle strength.
- Balance, coordination, and posture: A strong core helps you balance, improve coordination and maintain good posture.
How to Do a Plank
Get your mat ready! Good form is key to success, so follow these step-by-step instructions.
Standard Plank

- Start on all fours.
- Extend your legs backward so you’re on your toes.
- Keep your arms straight with your palms flat on the mat.
- Keep your body in a straight line from head to heel.
- Engage your core muscles.
- Look down at the mat.
- Hold for 10 seconds — or as long as you can without losing your form.
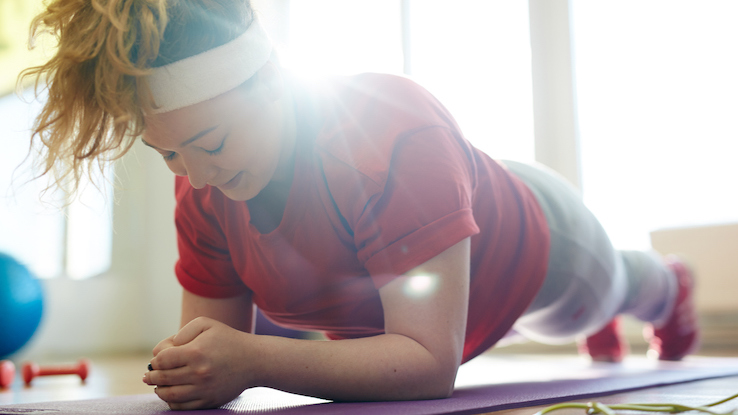
Forearm Plank
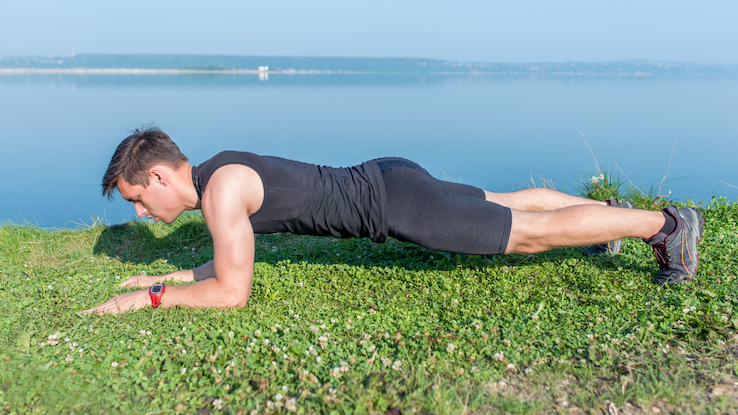
- Start on all fours.
- Extend your legs backward so you’re on your toes.
- Lower your forearms to the mat with your hands palm down. Keep your shoulders above your elbows.
- Keep your body in a straight line from head to heel.
- Engage your core muscles.
- Look down at the mat.
- Hold for 10 seconds — or as long as you can without losing your form.
Plank Modifications
If you can’t do a full plank yet, that’s okay. There are simple modifications to help you get there. Try to conquer these adapted planks before moving on to the standard or forearm plank.
Knee Plank
Follow the same steps for the forearm plank, but instead of going up on your toes, let your knees hit the mat. It’s similar to doing push-ups on your knees, but you’ll stay still in that position instead of moving into a push-up. Hold for 10 seconds.
Once you master this, you can move on to a standard plank or forearm plank, depending on which one you want to do (of course, you can do both if you want to).
Incline Plank
The incline plank is excellent for when you’ve mastered the knee plank but you aren’t quite ready for a standard plank yet. The instructions are the same as the standard plank, but instead of placing your hands on the floor, you’ll place your hands on a low bench or stair. This puts more of the weight on your legs, and takes some pressure off your arms and core.
How Long to Hold a Plank
Start with 10 seconds. Then rest and see if you can do 10 more seconds. Repeat until you can no longer hold the plank.
Keep your proper form as explained in the instructions the entire time you hold the plank. You need to stop when you feel your form slipping.
Challenge yourself to do a 10-second (or longer) plank every day. The more you practice, the easier it will get (and the better you’ll get at it). You’ll be holding a 1-minute plank in no time!
Common Mistakes to Avoid
Arching: A common plank mistake is arching or curving your back. Make sure your back is straight.
Drooping: Keep your shoulders over your elbows or hands, depending on which plank you’re doing. Avoid allowing your shoulders to creep up too close to your head.
Losing control of your hips: Your butt shouldn’t be reaching for the sky, and your hips shouldn’t be dipping toward the floor.
Craning your neck: Keep your gaze on the mat and head neutral. You shouldn’t be looking up, as this can hurt your neck.
Not breathing: Your muscles need oxygen to work! Avoid holding your breath.
If you have any concerns about planking, talk with your doctor or physical therapist. Also, you may want to avoid planks if you have a shoulder or wrist injury. Give any injuries enough time to heal before doing this exercise.
Resource Links:
- “Acute effects of core stability exercises on balance control” via Acta of Bioengineering and Biomechanics
- “Progression of Core Stability Exercises Based on the Extent of Muscle Activity” via American Journal of Physical Medicine and Rehabilitation
- “How to Do a Plank With 4 Variations: Position & Form” via National Academy of Sports Medicine